
How To Install The HDPE Liner in The Concrete Wall
Install The HDPE Liner in Concrete Wall |HDPE Liner in Concrete Wall
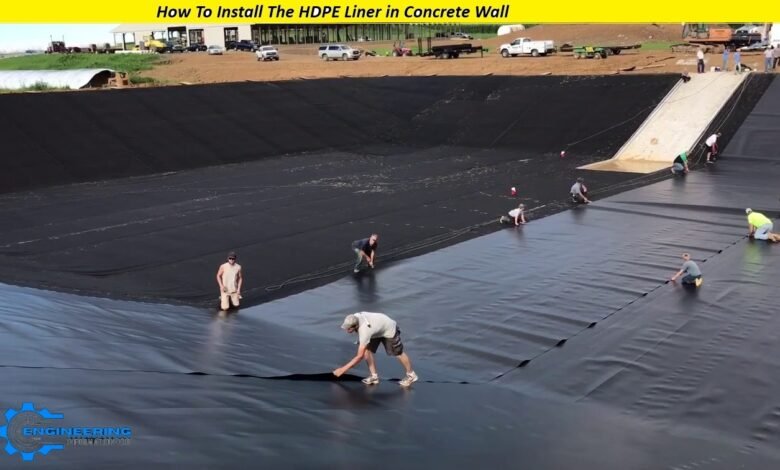
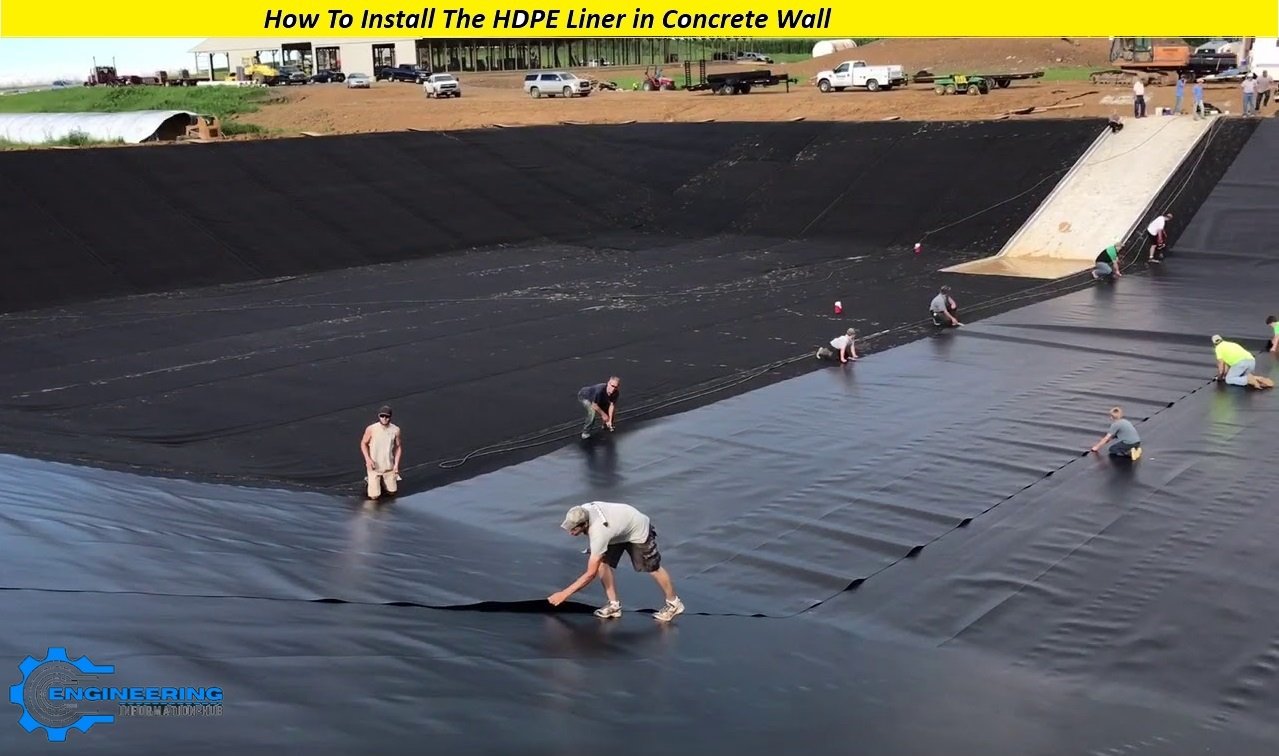
How To Install The HDPE Liner in Concrete Wall
Installing an HDPE (High-Density Polyethylene) liner on a concrete wall involves several steps to ensure proper adhesion and effectiveness.. How To Install The HDPE Liner in Concrete Wall
Materials and Tools Needed
1- HDPE liner sheets
2- Concrete primer or adhesive (specific for HDPE)
3- Heat welding equipment (for HDPE seams)
4- Utility knife or scissors
5- Measuring tape
6- Squeegee or roller
7- Adhesive brush or roller
8- Safety gear (gloves, mask, etc.)
Steps for Installation
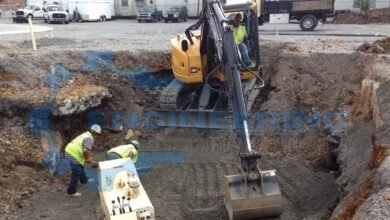
1-Preparation of the Surface
Clean the Wall: Ensure the concrete wall is clean, dry, and free from dust, oil, or loose material. Use a wire brush or power washer if needed.
Repair the Wall: Fill any cracks or holes in the concrete with a suitable patching compound and let it cure completely.
Smooth the Surface: If the surface is rough, consider using a concrete surface conditioner or leveling compound to create a smoother surface for better adhesion.
2-Measuring and Cutting the Liner
Measure the Area: Accurately measure the dimensions of the wall to determine how much HDPE liner you need.
Cut the Liner: Cut the HDPE liner sheets to the required sizes, allowing extra material to overlap edges if needed.
-
Minimum And Maximum Percentage Of Steel In Column Beam Slab And Foundation
-
Calculate the Bar Bending Schedule For Retaining Wall
3-Applying Adhesive
Select Adhesive: Use an adhesive HDPE and concrete. Follow the manufacturer’s recommendations for application.
Apply Primer: If using a primer, apply it to the wall according to the primer’s instructions. This step helps improve adhesion.
Apply Adhesive: Using an adhesive brush or roller, apply a thin, even layer of adhesive to the wall. Be sure to cover the entire area where the liner will be applied.
4- Installing the Liner
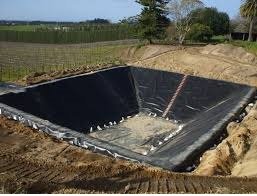
Position the Liner: Carefully place the HDPE liner onto the adhesive-coated wall. Start at the top and work your way down to avoid trapping air bubbles.
Smooth Out Bubbles: Use a squeegee or roller to smooth out any air bubbles or wrinkles in the liner, pressing it firmly against the adhesive.
5-Seaming (if necessary)
Overlap Seams: If the wall requires multiple sheets of liner, overlap the seams by the manufacturer’s recommended amount.
Heat Welding: Use heat welding equipment to weld the seams together. This process involves melting the edges of the HDPE liner and pressing them together to form a seamless bond. Follow the manufacturer’s guidelines for temperature and technique.
6- Finishing Touches
Trim Excess Material: Once the liner is fully installed and adhered, trim any excess material from the edges using a utility knife or scissors.
Inspect the Installation: Check for any areas where the liner might not be fully adhered to or where gaps or bubbles exist. Address these issues as needed.
7-Curing
Safety Tips:
Wear Safety Gear: Always wear gloves and a mask when handling adhesives and HDPE liners.
Ventilation: Ensure proper ventilation in the work area to avoid inhaling fumes from adhesives or heat welding.


One Comment